NAS Wall Mount Testing and Development Details

Materials dependency

The different materials available for 3D printing all have different properties. Apart from obvious one like different melting temperatures there is also elasticity or brittleness.

This mount was designed with the properties of ASA (or ABS) in mind.
As an example for other materials: If this mount would be printed in PLA, which is more brittle, there is a possibility for it to break unexpectedly. If it would be printed in PETG, the increased elasticity combined with the lower melting point could cause the mount to sag under the weight of the NAS.

Testing

In order to ensure stability and compatibility of my design with the chosen material, I run my own tests.

I run long-time tests and monitor the deflection (bending) of the mount over time.
The test uses a constant base-load of 2.5 kg (5.5 lbs). In addition to that more weight is added for a few days at a time to simulate unexpected loads (e.g. a cat enjoying a warm place to sit).
The additional weights are
+ 4.2 kg (9.3 lbs) to a total of 7.7 kg (17 lbs) – repeatedly tested for two consecutive days each time
+ 9.7 kg (21 lbs) to a total of 12,2 kg (27 lbs) – one full day during the test

As weights I use 1l Bottles of water as well as steel bars for bigger loads. The deflection is measured with an electronic angle measurement tool.

The mount can even withstand a total load of about 12 kg as tested above without breaking. Still – please note that this mount is only intended to carry a NAS! 😉

Load Compensation

The mount is produced with an angle between wall and bottom side that is 1.5° short of 90°. This will compensate for the bending that happens when placing the NAS on it.
Testing both with 2.5 kg and 7.7 kg I verify that the total angle will return to min. 90° when the load is back to 2.5 kg even after multiple months of testing.
Additionally testing with 12.2 kg, I verify that total angle will return to min. 91° when load is back to 2.5 kg even after multiple months of testing.

The test is executed in a garage with varying temperature conditions (about -10°C to 45°C over the year).

Wall Mount for 1-bay and 2-bay NAS drives

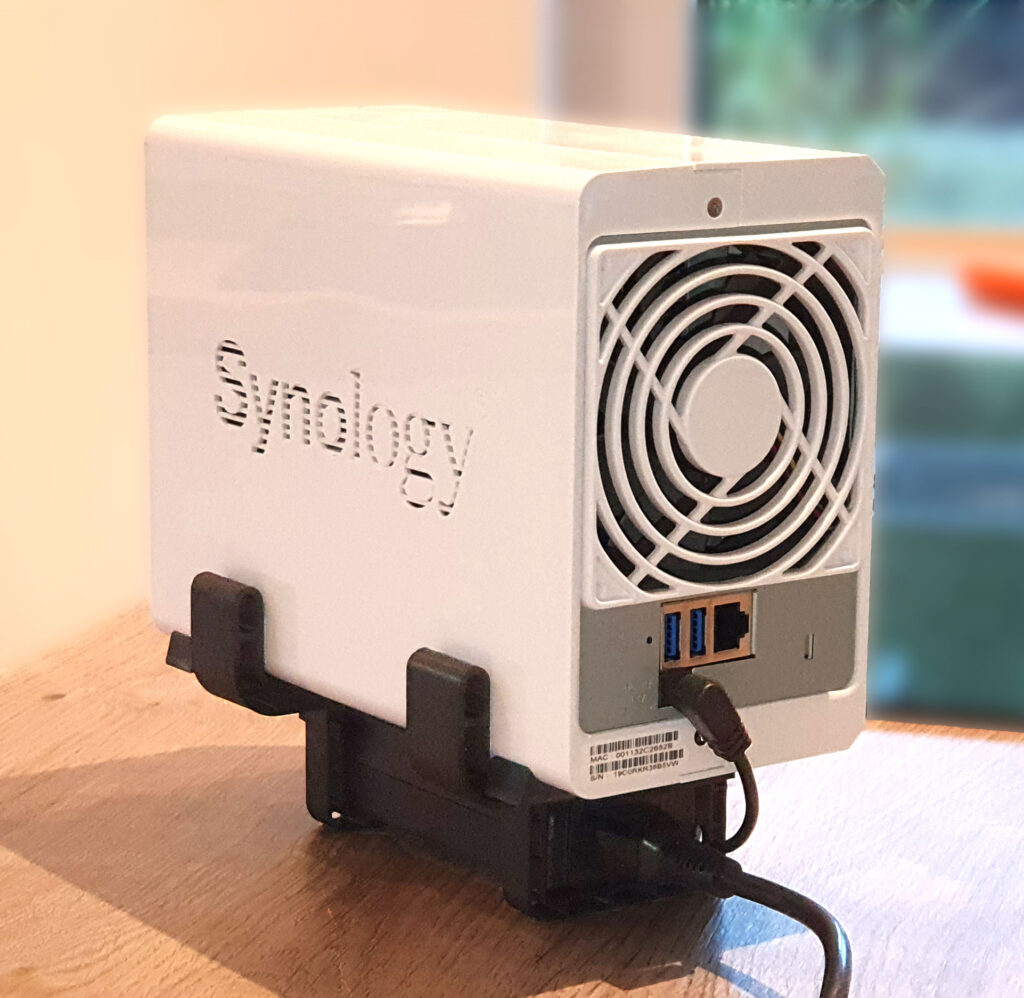
A sleek solution to regain space on your desk space or get your NAS away from your feet!

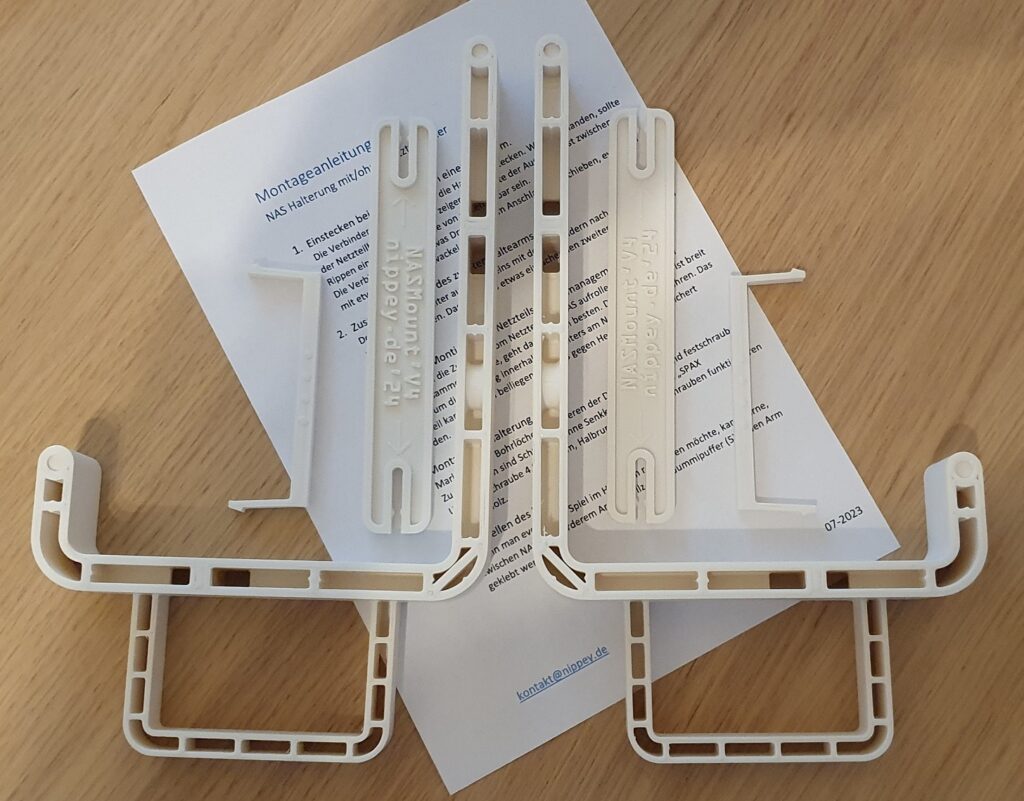
This universal mount can be adapted to fit almost any 1-bay or 2-bay NAS out there. There are some predefined widths based mostly on dimensions of Synology products.

There is a dedicated compartment for the power supply. This is optional and can be added at no extra cost. Please verify if your supply fits the compartment prior to ordering.

As the mounts are 3D-printed, differing widths or power supply compartments can be included at no extra cost!

Supported dimensions of the NAS

The NAS is placed sideways into the U-shaped mount. The front of the NAS can point either to the left of the right when mounted to the wall.

  • No depth restriction, the mount is open on both sides
  • No height restriction, the mount is open to the top
  • Pre-build variants with 75 mm, 105 mm and 112 mm available. Differing widths can be customized.
  • Physical maximum is about 120 mm width or 2.5 kg (My current test setup)

Supported dimensions of the power supply

  • Maximum width and height: 35 mm x 58 mm / 1.38 in x 2.28 in
  • Minimum length: 105 mm / 4.1 in
  • Maximum length: 115 mm / 4.5 in
    (The mount comes with clips to secure the power supply. Without using the clips on either side, there is no maximum length limit.)
  • If you want to add a power supply with different dimensions, I can adapt the compartment for you.

Pre-built variant with 75 mm (2.95 in) without power supply compartment

This will fit 1-bay NAS devices.
As most of the 1-bay devices use a wall power supply, the default configuration excludes the power supply compartment.

Matching ModelsWidth of NASVerified 1
QNAP Turbo Station TS-119P II73 mmOnline only
Synology DS120j71 mmYES
Synology DS12471 mmOnline only
Wall mount kit for NAS with up to 75mm width. No power supply compartment.

Pre-built variant with 105 mm (4.13 in) with power supply compartment

This will fit slimmer 2-bay NAS devices:

Matching ModelsWidth of NASVerified 1
Asustor Drivestor 2 AS1102T102 mmOnline only
QNAP Turbo Station TS-231P3102 mmOnline only
Synology DS216j105 mmYES
Synology DS220j100 mmYES
Western Digital My Cloud Home Duo102 mmOnline only

Pre-built variant with 112 mm (4.41 in) with power supply compartment

This will fit broader 2-bay NAS devices:

Matching ModelsWidth of NASVerified 1
Asustor AS6702T Lockerstor 2 Gen2108 mmOnline only
Synology DS720+ / DS723 / DS723+106 mmYES
Synology DS220+ / DS223108 mmYES
Western Digital My Cloud Pro PR2100109 mmOnline only

Materials and Quality

The material used to 3D-print the mount is ASA (Acrylonitrile styrene acrylate).
In contrast to PLA, which is often associated with FDM printing, the heat deflection temperature is at about 100 °C / 212 °F.
And unlike ABS, ASA has a high weather and UV resistance, so neither direct sunlight nor heat buildup can compromise the strength of the mount.

If you’re interested in my testing procedures, also have a look into Testing!

Colors

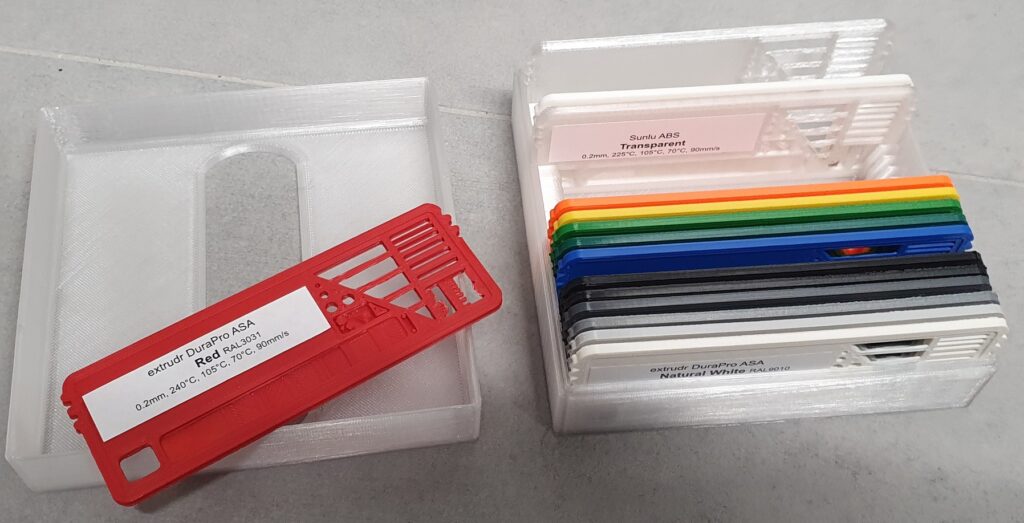
I can provide various color options for the material ASA.

An extract of the different colors available.

Please note that I do not offer “signal white” (RAL9003 / ~ Pantone 705) but “pure white” (RAL9010 / ~ Pantone Cool Grey 1). Signal white is the “whiter white” but it is usually created with the pigment titanium dioxide, which unfortunately has negative impact on the strength of the mount.

  1. For some devices in the lists above, I took the measurements from their online-datasheet. In case you are interested in a mount for such device, please help me verify the dimensions. Thank you! ↩︎

Fixing Aliexpress RS485 Modbus to Ethernet Gateway

On AliExpress you’ll find many interesting solutions to enhance you smart-home installation without spending too much money.

On one of my journeys, I stumbled across a little module, that will connect a RS485-Modbus installation to Ethernet. Together with a range of digital and analog I/O-modules from the same seller that can all be mounted to DIN-rail, this sounded like a nice solution to get my magnetic window contacts into Home-Assistant.

There are many different products that solve the same issue. The one I bought is based on the GT1001 Ethernet-to-TTL server. Vendor “eltechsup” combines it with a RS485 converter an a PCB with “ET69C02” written on it. You can get it in a nice DIN-rail mount enclosure.

eltechsup ET69C02 Modbus-to-Ethernet gateway

More details about the GT1001: http://gkwiki.cn/doku.php?id=gt1001 (Chinese, use Google translate!)

The tricky part of the Modbus RTU protocol

RS485 Half-Duplex communication uses a differential pair of data lines for both sending and receiving. This requires the transceivers to switch between sending and receiving, which is usually done with a dedicated “TX-enable” pin.
Modbus-RTU specifies the time between two packets to be “minimum 3.5 bit times”. So, after [3.5 / baudrate] seconds, you have to expect to receive an answer from a slave.
Latest after that time, the “TX-enable” pin should be inactive again, as the connected transceiver will otherwise drive against the other transceiver that just wants to send an answer.

The issue with the GT1001

Unfortunately, I always had communication issues using the ET69C02 / GT1001 module. I found it to be caused by the GT1001 firmware not correctly implementing the TX-enable pin.

I have the system configured for 9600 baud. An answer can therefore be expected after 365µs. But the GT1001 holds TX-enable high for almost 2ms!

TX: Output of GT1001; A+: Output of ET69C02; RX: Input into GT1001; TXEN: TX-enable pin of GT1001

As can be seen in the screenshot above, the first two bytes sent by the slave are messed-up. (I didn’t have a second analog channel to measure the RS485 “B” signal). The decoded RX shows the first byte is missing completely and the second is corrupted.

Possible solution: Firmware update

The best solution would be to update the firmware of the GT1001. At that time, the website linke above provided firmware version V1.15, but an update didn’t solve the issue. Thefore, I contacted the e-mail listed on the website and promptly got a new version V1.16. (Wow, thanks!)

Upgrade procedure: To do an upgrade, you need to take the module out of the enclosure and pull the CFG pin low during power-up. CFG is pin 15 of the GT1001 module and is right next to the pin labeled TXD on that separate 3-pin header. You may need to try multiple times as pulling it low for too long didn’t seem to work for me. You are successful, if the red and green LEDs are continuously blinking alternately.

After that, go to the IP address 192.168.0.10, and you’ll get an upload-form to provide your binary file for the firmware-upgrade. (As well as for the initial setup, you may need to change your computers IP address to 192.168.0.1 in order to do so.)

But even this update to V1.16 didn’t solve the issue.

My hardware fix

My solution: Hardware fix

As I didn’t get any more answer after firmware V1.16 still did not work, I searched for alternatives and found an almost pin-compatible RS485 transceiver that support auto-direction: Texas Instruments THVD1406. I replaced the existing WS3085 IC with the THVD1406. (I lifted the SHDN pin up and did not solder it).

And: Tah-dah! Works right away! 🙂

Equinox Clock

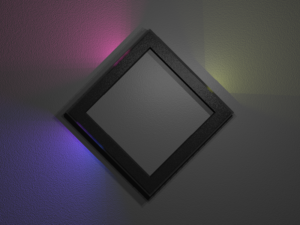
Full view of the diamond shaped Equinox draft

For some time now, I had the idea of building a clock made of 60 leds behind a milk-glass pane, showing the time with light.
Talking about this to some friends, I got the hint to search for the “Equinox Clock”.
And yes, I found it and was fascinated of this design mady by Bram Knaapen, see it here: Equinox Clock.
Unfortunately every detail in his great design exceeded our own ideas, so that we finally decided to build a clock copying his design, together with some fellow students.
(‘Copying’ is always such a bad word, but yeah its true.. 😉 )

So this will be a report showing how we rebuild something based on the images and videos shown here.
What did we do until now?

Continue reading “Equinox Clock”